In this blog post, Major Mixing – Online Mixing and Mastering Service will discuss how to set compressor attack and release times. We’ll go over what they are, why you need them, and some best practices for setting them. If you’re looking for a complete guide on the subject of compression’s attack and release settings, then this is it!
What are compressor attack and release?
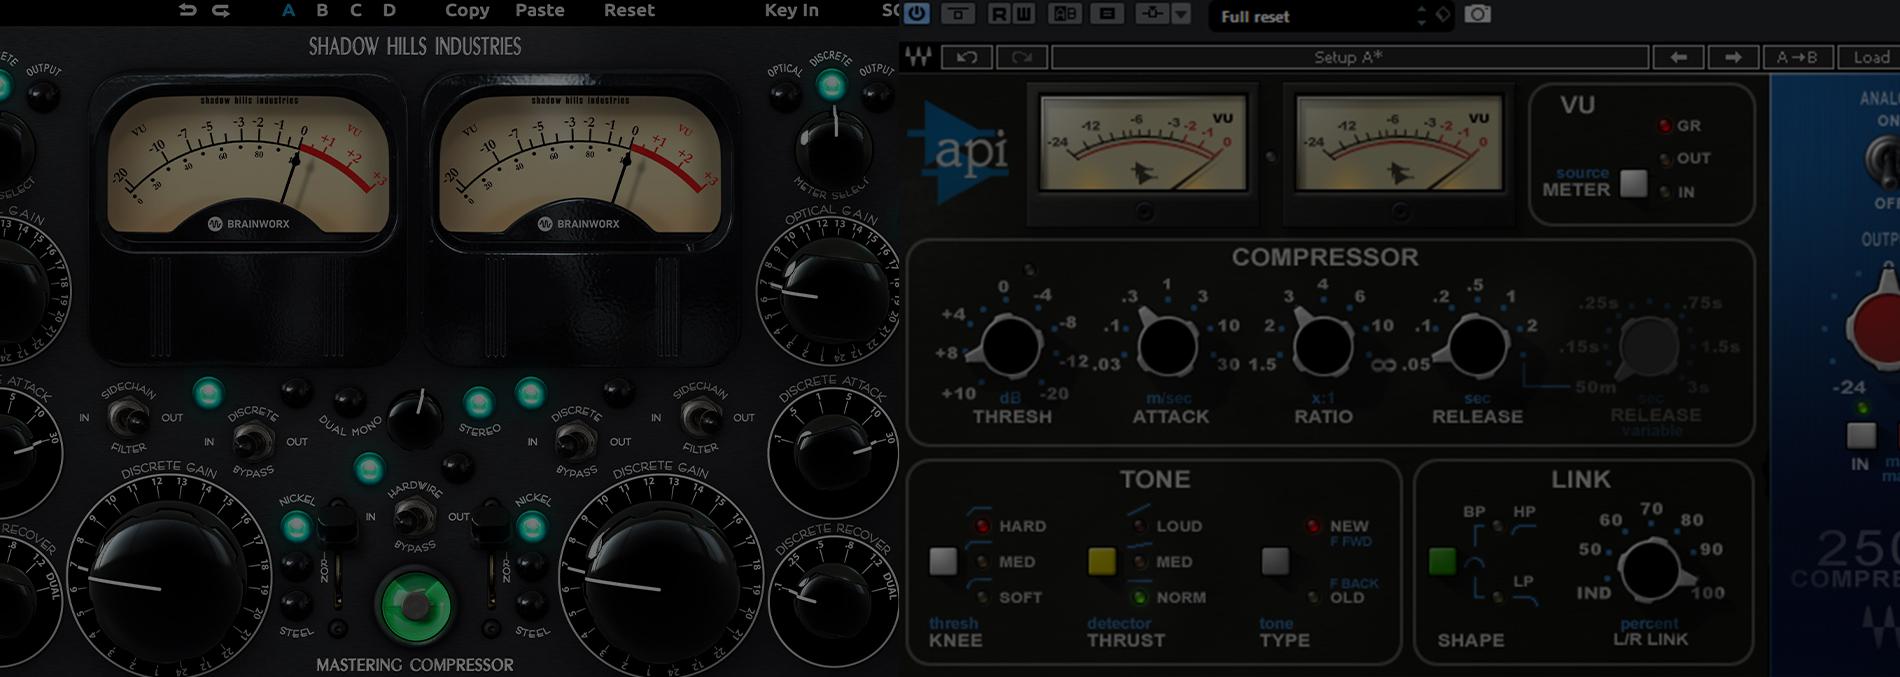
Compressor attack and release times are two of the most important settings. They determine how the compressor will respond to incoming audio signals and can have a huge impact on your final mix.
Attack time is the amount of time that dictates how long it takes for the compressor to reach approximately 2/3d of its full compression. It shows how many peaks or transients will pass through the compressor without getting compressed.
Release time is the amount of time the compressor will still be working after the signal has moved below the threshold.
Both attack and release times are measured in milliseconds (ms). The lower the number, the faster the response time.
How attack and release affect audio?
You’ll want to set these times according to the specific material you’re compressing.
First, we need to understand how different settings of attack time affect the audio.
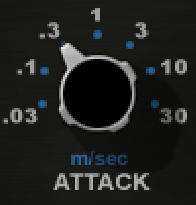 Fast attack (0-3ms)
Fast attack is good to add body to the sound or tame spiky transients.
Medium attack (3-8 ms)
This is a good starting point in most cases. It’s fantastic for giving dynamic control when you don’t want to completely eliminate transients.
Slow attack (10-30 ms)
Slow attack is great for adding punch to your sound.
Now let’s consider the release time for compression.
 Fast release (50-100 ms)
The fast release time of a compressor is great for controlling spiky transients or reining in the feedback.
Medium release (100-200 ms)
This setting works well with most material and helps maintain some dynamic range while still keeping things controlled.
Slow Release (over 300ms)
A slow release setting is excellent for enhancing a sound’s sustain and musicality.
Want a free test mix of your track?
We get it.
That’s why we’ll do a full hybrid (analog + digital) mix of your song —
for free.
No upfront payment. No risk.
You only pay if you’re blown away. And if you are, we’ll slash 40% off the final price.
Nobody else in mixing and mastering offers this.
Why?
Because most studios say yes to every project. We don’t. We only mix what we’re excited about — so send us your best track. If we like it, we’ll mix it like it’s going to the Grammys.
👉 Just drop your name and email to get started.
How to set Compressor Attack and Release?
First of all, we need to figure out what exactly we want to get, and the choices also depend on what instrument we want to compress.
There can be many different situations and many options. Each instrument can be recorded in a different way, songs have different tempos, dynamic ranges, etc.
How to set up an attack?
Let’s start with drums. While listening to drums, you can precisely hear the attacks, they will help you decide. If you want a punchy sound – use a slow compressor attack setting. If you need a huge longtail sound – use a short attack. That’s pretty simple:)
For the rest of the instruments, we usually use a medium attack. It works well in most cases. Sometimes we can use small attack time to make sound squashed and jumping to the face. It works perfectly, for example, on bass guitar or rap vocals.
Slow attack times work best on drums or on the master bus. We don’t use it for instruments except for bass, because they usually don’t contain any “punch” in a sound.
How to set up a release?
For drums, it’s better to use the “tempo” approach. Just find time in ms between notes and that would be your release.
You can use this chart for it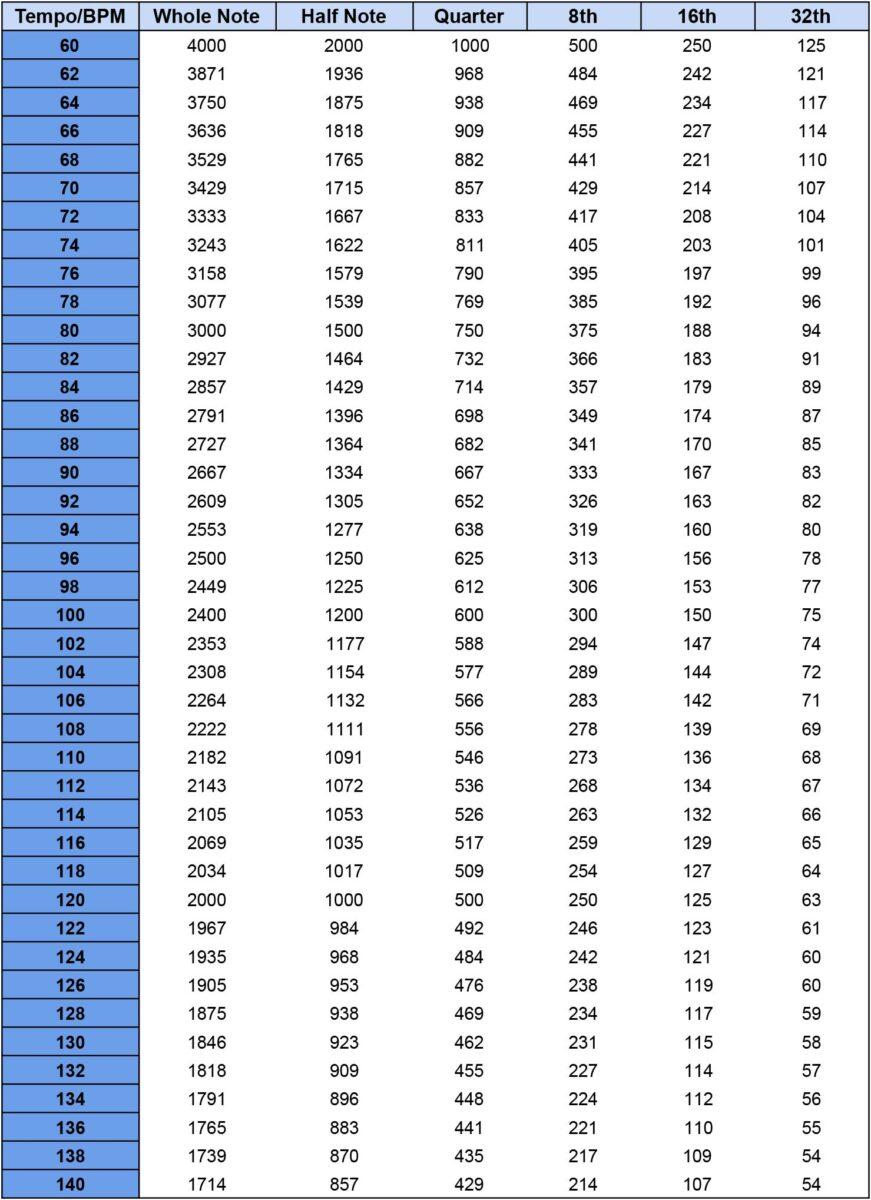
Or you can simply look at your gain reduction meter. Notice when the needle of the compressor returns to its original position just before each beat, this will give you the idea of the needed release time.
For the rest of the instruments, you need to use your ears. If you want to squash/limit your sound – use short release (50-10 ms), if you want to keep it natural – use long release time (200+ms).
The great universal starting point is 100 ms. You can use it if you don’t have much experience yet.
Hope you find it helpful. Feel free to ask us any questions using our LiveChat:)

