It is common for engineers to use a single, optimal approach to achieve an industry-quality master because mastering a track is, first of all, the process of standardization of the record.
This article outlines our approach to song mastering, we use it all the time it our studio. This approach helped us master thousands of songs to industry quality, and it is accepted by major labels.
How to professionally master a song step by step
Professional mastering consists of certain steps and each of them requires specific attention from mastering engineers. Here are the steps:
- Prepare the studio
- Analyze the song
- Find reference tracks
- Prepare the song for mastering
- Start with the frequency response
- Check the dynamics
- Check stereo field
- Use saturation
- Apply limiter
- Double-check everything using hi-end meters
Now let’s look at each of these steps in detail. If you are learning how to master a track, or already have been mastering for some time but want to look through our tips for mastering, keep reading, this article is going to be helpful.
Mastering step 1. Prepare the studio
 Mastering is the final step in creating music, and the mastering engineer is the last person to check that everything is right before the song goes to distribution and is printed on CD or Vinyl. That’s why mastering engineer’s studio must be ideal, the best of all. The studio should be created especially for mastering. Mid-field monitors must be used and be of the highest quality so the engineer could hear the broad frequency spectrum with the maximum quality.
All the equipment should be the best. Use the best sound card possible, the best cables, and all the gear. The studio also must be treated for sound very well and well designed and equipped.
Mastering step 2. Analyze the song
 Before mastering, the engineer listens to the mix many times. He notices everything that’s not good enough in the mix. He also gets familiar with the strong points of the mix, its individuality, and its atmosphere.
At the same time, in the track, there can be some defects like noises or clicks which were overlooked by the mix engineer. The work of the mastering engineer is to notice them all. It takes listening and checking many times, but this is what’s needed. The engineer takes notes and checks carefully every second of the mix.
We must note, that you should master only when the final mix is perfectly ready. If the engineer notices that the mixing can be done better, he sends the mix back to the mix engineer with notes and suggestions on what to change. And so the mastering engineer makes sure the mixing is finished and the mix is perfect before the actual mastering work begins.
When the actual mastering process starts, the engineer should already know the song and know exactly what this mix needs, and what to do.
Mastering step 3. Find reference tracks
 After all preparations are done and the entire track is ready for mastering, the engineer finds reference tracks. It has to be industry-quality songs, that were released, preferably, no more than one year ago. It’s good to find several songs to compare and have different examples of what wins in the industry today. Using this information you’ll be creating the master record.
Mastering step 4. Prepare the file for mastering
When we prepare the stereo file for mastering, we make sure that the loudest peaks are not louder than -6dB to give enough headroom and not overload the gear. Then we place all fade-ins and fade-outs where needed, and after that the track is ready.
The engineer also normalizes the reference tracks, so that they have the same loudness as the mix.
Mastering step 5. Start with the frequency response
 Mastering a track starts with analyzing the frequency spectrum, we check the frequency balance, if there is enough high frequencies and low frequencies. Maybe some frequencies are created from resonance. We see what frequencies we must reduce and what to enhance. For all this, we use equalizers, the best equalizers that have a clean effect and don’t alter the sound.
The main rule for equalization in mastering is to use no more than three bands within the frequency spectrum. It’s not mixing, where you can have many bands for equalization. Here, in mastering, the equalization is very gentle and careful. A couple of dBs up or down is enough.
If you need to move some frequencies more than 3dB up or down during mastering then there’s something wrong with the mix, and it’s better to return to mixing and fix the issue. When we change something during mastering by 3dB or more, we change the whole frequency balance of the mix, and this is not what mastering is about. We need to keep the mix close to what the mix engineer decided it should sound like.
At the same time, mastering is aiming to align the frequency balance with today’s industry standards.
We can use here dynamic equalizers and multiband compressors, but just a little. It’s allowed if there is a slight change you need to make, for example, a certain small frequency range jumps out and you need to tame it, again, mastering shouldn’t change the overall sound of the mix much.
Mastering step 6. Check the dynamics
 Modern music is very compressed and loud. Live music and concerts, orchestral music, and all the natural music are very much dynamic and expressive. But streaming next to modern songs, all dynamic music will sound like a weak and quiet performance. In order to compete in the market today, the song should have less dynamic range and hence be louder.
People are used to listening to only highly compressed music today and the audience will not accept natural quiet and breathing sounds. But at the same time, the engineer must control the dynamics, and try and find a way, while compressing a mix, to still preserve some dynamic range, expressiveness, and the difference between quiet and loud parts of the song, such as between verse and chorus, for instance.
To make the mix louder, the engineer uses compression. Sometimes it’s one compressor, but more often it’s a combination of compressors. We use 2-3 compressors.
 The first compressor we use has a slow attack and slow release, it doesn’t change the sound much and will smoothen the dynamics throughout the mix. Manley Vari MU compressor can be used for this purpose, it’s a high-quality compressor, we talked about it in our article about the best mastering plugins.
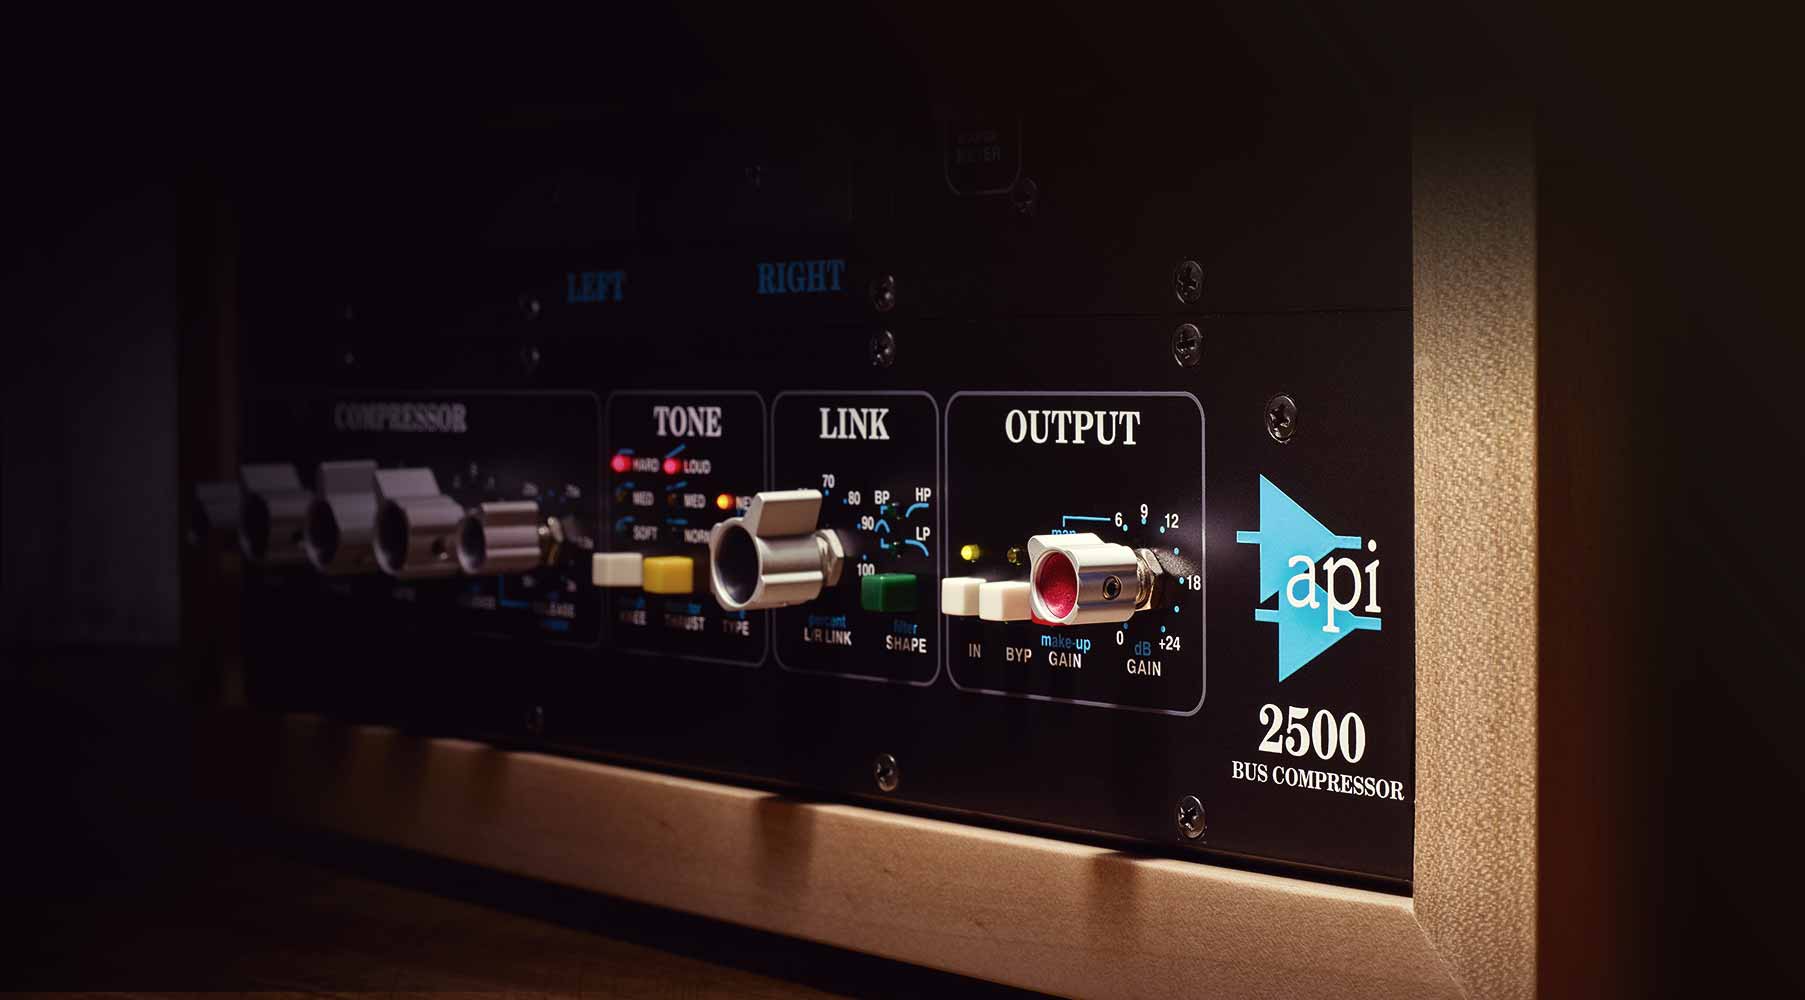
On the next compression step, we use a quicker compressor which will soften the peaks, the attack time will be short, around 2 ms. We use waves API compressor for this.
And in the end, we glue the sound together with the compressor having a quick attack and release, around 1dB gain, we use SSL Bus Compressor for this.
After this compressor combination, the track is glued together with a great sound and good dynamic range.
However, no templates or algorithms can be created for mastering. Every song is different, and only the engineer’s ears with the help of reference tracks can determine what the song needs to have the most modern and industry-level sound.
Mastering step 7. Check stereo field
 The stereo field shouldn’t be too wide. Mastering a song, mastering engineers will use a correlometer and a vectorscope to measure the stereo width of the track and check if there are any phase problems to fix.
The mastering engineer will compare the stereo field of the song with the reference tracks and make sure they are similar.
Another important thing to take care of here is the low end. All the frequencies that are below 120 Hz must be in mono. This is because when played through a stereo system, most often they are reproduced through subwoofers in mono. As low frequencies most of all tend to have phase issues, they must be in mono from the beginning. Moreover, they form the basis of the entire track and shouldn’t be spread to the sides.
To narrow the stereo field down, if needed, the engineer can use a mid-side compressor. With its help, the engineer can restrict the side channel when needed and make it stay within the needed stereo width. We also can use automation with the compressor here.
Some engineers tend to use stereo enhancers while mastering, but the practice shows that it’s not a good choice. If the mix is too narrow, it’s better to return to the mixing stage and remix the song wider. Stereo enhancers while mastering could change the mix’s balance, the elements panned to left and right will become louder, so the mid part will become quieter, and the mix itself will change. If there is really a need for that, enhancers can be used only for small parts.
Mastering step 8. Use saturation
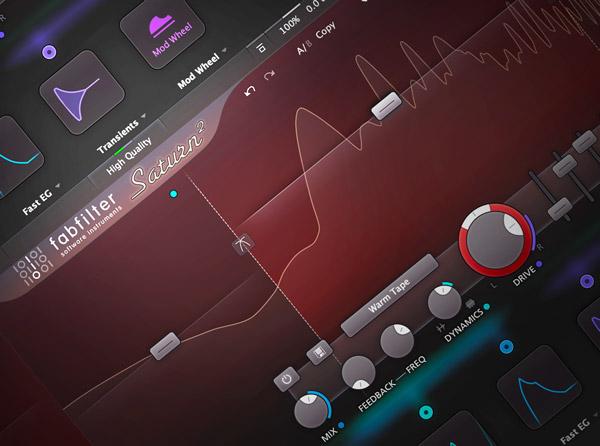 At this step, we use saturation. Why do we need saturators after applying compressors? The point is that no matter how fast the compressor we use, the attack time is still not zero. This means that there are some peaks that can get untreated, and they could go out of range, out of 0 dB, and cause distortion on some devices.
Saturation cuts the remaining peaks with a soft distortion and the track now becomes solid without jumping-out peaks.
For this purpose, we use soft-clippers like Sonnox Inflator and LVC-Audio Clip Shifter.
Mastering step 9. Final gain reduction with limiter
After saturation, we add a limiter, like, for example, AOM Invisible Limiter. With this, we make the final gain reduction and fit the industry loudness of about -10 RMS which is close to -9 LUFS. These numbers are approximate and depend on the genre.
Limiter helps us finalize the mix, to reduce all peaks to less than -0.3dB. Hence, when we use this final limiter, the output ceiling should be set to -0,3dB. This will help to give enough headroom and avoid inter-sample clipping. Because when the digital signal is transformed to analog and there can form true peaks of the waveform. This gap of 0.3dB will give enough headroom to catch the possible true peaks and not let the sound jump beyond 0dB causing clipping.
Mastering step 10. Double-check everything using hi-end meters
The last step of mastering is to check everything thoroughly. We use different meters for that, checking RMS, LUFS, true peak levels, use correlometers, and others.
At this point, we normalize reference tracks again to match the mix we are working on if the loudness is different. The engineer needs to check this because with mastering the song became louder.
We check the stereo field again and all the parameters on this last step before the release. As a result, the song must be perfect and ready.
Want a free test mix of your track?
We get it.
That’s why we’ll do a full hybrid (analog + digital) mix of your song —
for free.
No upfront payment. No risk.
You only pay if you’re blown away. And if you are, we’ll slash 40% off the final price.
Nobody else in mixing and mastering offers this.
Why?
Because most studios say yes to every project. We don’t. We only mix what we’re excited about — so send us your best track. If we like it, we’ll mix it like it’s going to the Grammys.
👉 Just drop your name and email to get started.
How to master a song in different DAWs
 While performing audio mastering, there is no reason to apply equalizer, compressor, and other plugins to individual instrument channels. Here we are working with one track of the whole mix. Except for stem mastering, but we are not talking about it in this article. So, normally, the engineer will send all the mastering effects to one master bus.
Master bus is also called a master fader, master channel, stereo bus, mix bus, etc. The main idea is that this is the channel to which all the tracks in your multitrack are finally routed, and from this channel, the signal goes to the monitors.
When working with the mix as a multitrack, the sound engineer creates buses for different instruments like vocals or drums or unites the instruments into stems dividing them by frequency bands. For this purpose, the empty tracks are created to be buses like drum bus, vocal bus, and so on. And then the individual tracks are routed to the needed bus tracks. And then all the stem buses will be routed to the master bus.
The audio mastering procedure is roughly the same in all the DAWs. If we speak about FL Studio 12, Pro Tools, Logic X, Cubase, Studio One, Ableton, GarageBand, we have to say that only GarageBand is not used for mastering, because it’s not a professional DAW and is created mainly for making demo versions of songs, not the final master records.
In all the DAWs the master bus is either created automatically, or the engineer just has to create an empty track and route all the tracks of the multitrack to it. Usually, the master bus can be found in the mixer as the last track.
Most often, however, the mix is sent for mastering as one stereo track, then just this one track is routed to the master bus, all the mastering plugins will be applied to this master bus.
Is it possible to master a song without a studio?
 Without a proper professional studio it’s possible to only create a demo version, but not an industry-quality master record that will successfully compete in the industry or get to the top of the charts.
Mastering means finalizing the mix and making it meet all the modern standards without any flaws. It’s crucial that it’s done by a professional audio engineer using a professional studio and equipment. Otherwise, the mastering procedure would simply miss some important details because of the lack of engineer’s experience or technical imperfections.
If you don’t have access to a hi-tech studio or are not highly experienced in mastering, it’s better for your song and for your career to trust professionals with this final mastering touch. Because mastering is the last step before production, during mastering the mix is checked by many parameters to fit the industry level.
Only engineers who are highly experienced in mixing and mastering big musical industry projects work in our Major Mixing team. They know how to master a mix on the top-chart level.
When you send your mix to us for mastering, we don’t just apply the sequence of plugins and send the song back to you. On the contrary, the procedure is very thorough, because we don’t just master a record, we aim to produce the next hit, the industry-level record.
How much does it cost to master a song?
 Our mastering prices start from $42 and considering the time (from 4 hours or more for an average song) that the mastering engineer will spend working on your project, this is a pretty good deal.
We’ll use our 10-year experience in music production, mixing, and mastering to help you achieve your goals. So we’ll check the mix first for mixing mistakes and any kind of mistakes. And if we see that something needs to be fixed on the previous levels, we’ll give our professional recommendations to you.
Of course, if your song is recorded and mixed well and professionally, we’ll only add our high-quality industry-level mastering, and your hit will be ready to conquer the world!
If your mix contains any flaws, you have to consider that recording and mixing mistakes can rarely be fixed on the mastering level. And we have no intention of covering any mistakes with mastering and sending you back the song that is not good enough. We know how to master a song for the industry, we want your song to be perfect and your career to grow well.
We’ll help you to successfully grow your career because we have been in the music industry for a decade and have assisted thousands of artists like you.
If you are preparing a song for release, contact us, your success is our goal!


