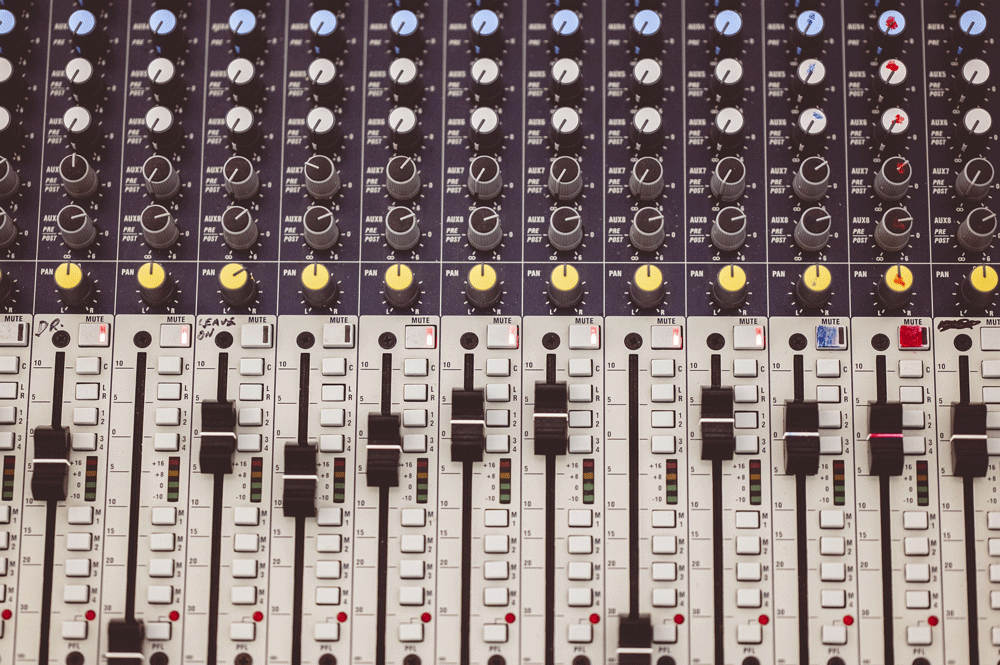
How to export individual tracks in Cubase.
The first thing we need to do is to save a copy of the session using the menu “File” and “Save As”.
Name the new project by adding “for mixing” at the end. This way, your original project stays safe.
Now let’s clean up the session before exporting.
Open the MixConsole by pressing F3.
Make sure all channels are clearly labeled — use descriptive names like “Kick”, “Lead Vocal”, or “Guitar 1”. Avoid generic names like “Audio_01”.
Check for tuning and timing.
Ensure all vocals are tuned and instruments are aligned to the grid. If you need help, Major Mixing offers tuning, timing, sample replacement, and re-recording services.
Consolidate layered parts.
If you have several layers for the same instrument or vocal part, consolidate them into one track. For example:
- “Lead_Verse”
- “Lead_Chorus”
- “Lead_Bridge”
Bypass unnecessary effects.
Turn off EQs, compressors, and reverbs unless they’re essential to the sound.
If needed, duplicate the track and export both dry and wet versions:
- “Guitar_1_Dry”
- “Guitar_1_Wet”
Check your levels.
Select all tracks (hold Shift) and press Play. Look at the Master Fader (on the right of the MixConsole) to ensure your output is not clipping.
Use Option+Shift on Mac or Alt+Shift on Windows to adjust all faders at once, and keep the peak level around -6 dB.
Now we are ready to export stems in Cubase.
- Set the export region.
Find the last sound in your session, and while holding Command (Mac) or Ctrl (Windows), click the timeline ruler to set the locator to the end of the project. Press P to set the left/right locators. - Open the export window.
Go to File > Export > Audio Mixdown. - Enable multiple track export.
In the Channel Selection area, switch to the Multiple tab and select all audio channels and instrument tracks. You can quickly do this by checking the Audio Channels box. - Set naming and file options.
- Ensure “Mono Downmix” is not enabled.
- Set Naming Scheme to “Channel Number” and “Name”.
- Choose export location.
Click the triangle in the Path field under File Location and select Choose…
Create a new folder with your project name and BPM (e.g. “MySong_123BPM”). - Configure file format.
- Set File Type to WAV
- Set Sample Rate to 44.1 kHz or 48 kHz
- Set Bit Depth to 24-bit
- Press “Export Audio”.
Wait for Cubase to finish rendering your multitrack files.
Final check:
Open a new project and drag in all exported tracks to make sure they line up correctly and nothing is missing.
Zip the folder with your exported files and upload it to MajorMixing when placing your order.
Want a free test mix of your track?
We get it.
That’s why we’ll do a full hybrid (analog + digital) mix of your song —
for free.
No upfront payment. No risk.
You only pay if you’re blown away. And if you are, we’ll slash 40% off the final price.
Nobody else in mixing and mastering offers this.
Why?
Because most studios say yes to every project. We don’t. We only mix what we’re excited about — so send us your best track. If we like it, we’ll mix it like it’s going to the Grammys.
👉 Just drop your name and email to get started.


