Why Your Mic Is the Most Important Investment You’ll Make
These days, more and more artists and producers are recording vocals from home. It’s convenient, flexible, and budget-friendly. But one question comes up constantly:
How do you choose the right microphone for your voice?
At Major Mixing, we’ve worked with thousands of vocal recordings — some captured with professional mics in treated studios, others recorded in bedrooms with budget gear. And one thing is clear: your microphone makes or breaks the vocal sound from the very beginning.
I’m Max, a chief engineer at Major Mixing. If you’ve already recorded vocals and need professional mixing or mastering, feel free to reach out — we’d love to help polish your sound. But before that, let’s make sure your recording starts off on the right foot — with the right mic.
Why Choosing the Right Microphone Is So Important
Your mic is the most important piece of gear in your recording setup. Not the cables. Not the audio interface. Not even the computer. Just the mic.
Many artists assume they can grab any affordable mic and “fix it in the mix.” But here’s the hard truth: a bad-sounding mic can’t be fixed later, no matter how good the plugins are or how talented the engineer is.
A good microphone shapes the tone of your voice, captures its nuances, and makes your vocals sit better in the mix from the start. We like to say: 90% of your vocal quality comes from your mic — the rest is mixing.
The good news? You’ll probably only need to buy a good mic once. Get it right, and it’ll last you decades. But to make the right choice, you need to approach it the right way.
 Step 1: Define Your Budget (and Prioritize Your Mic)
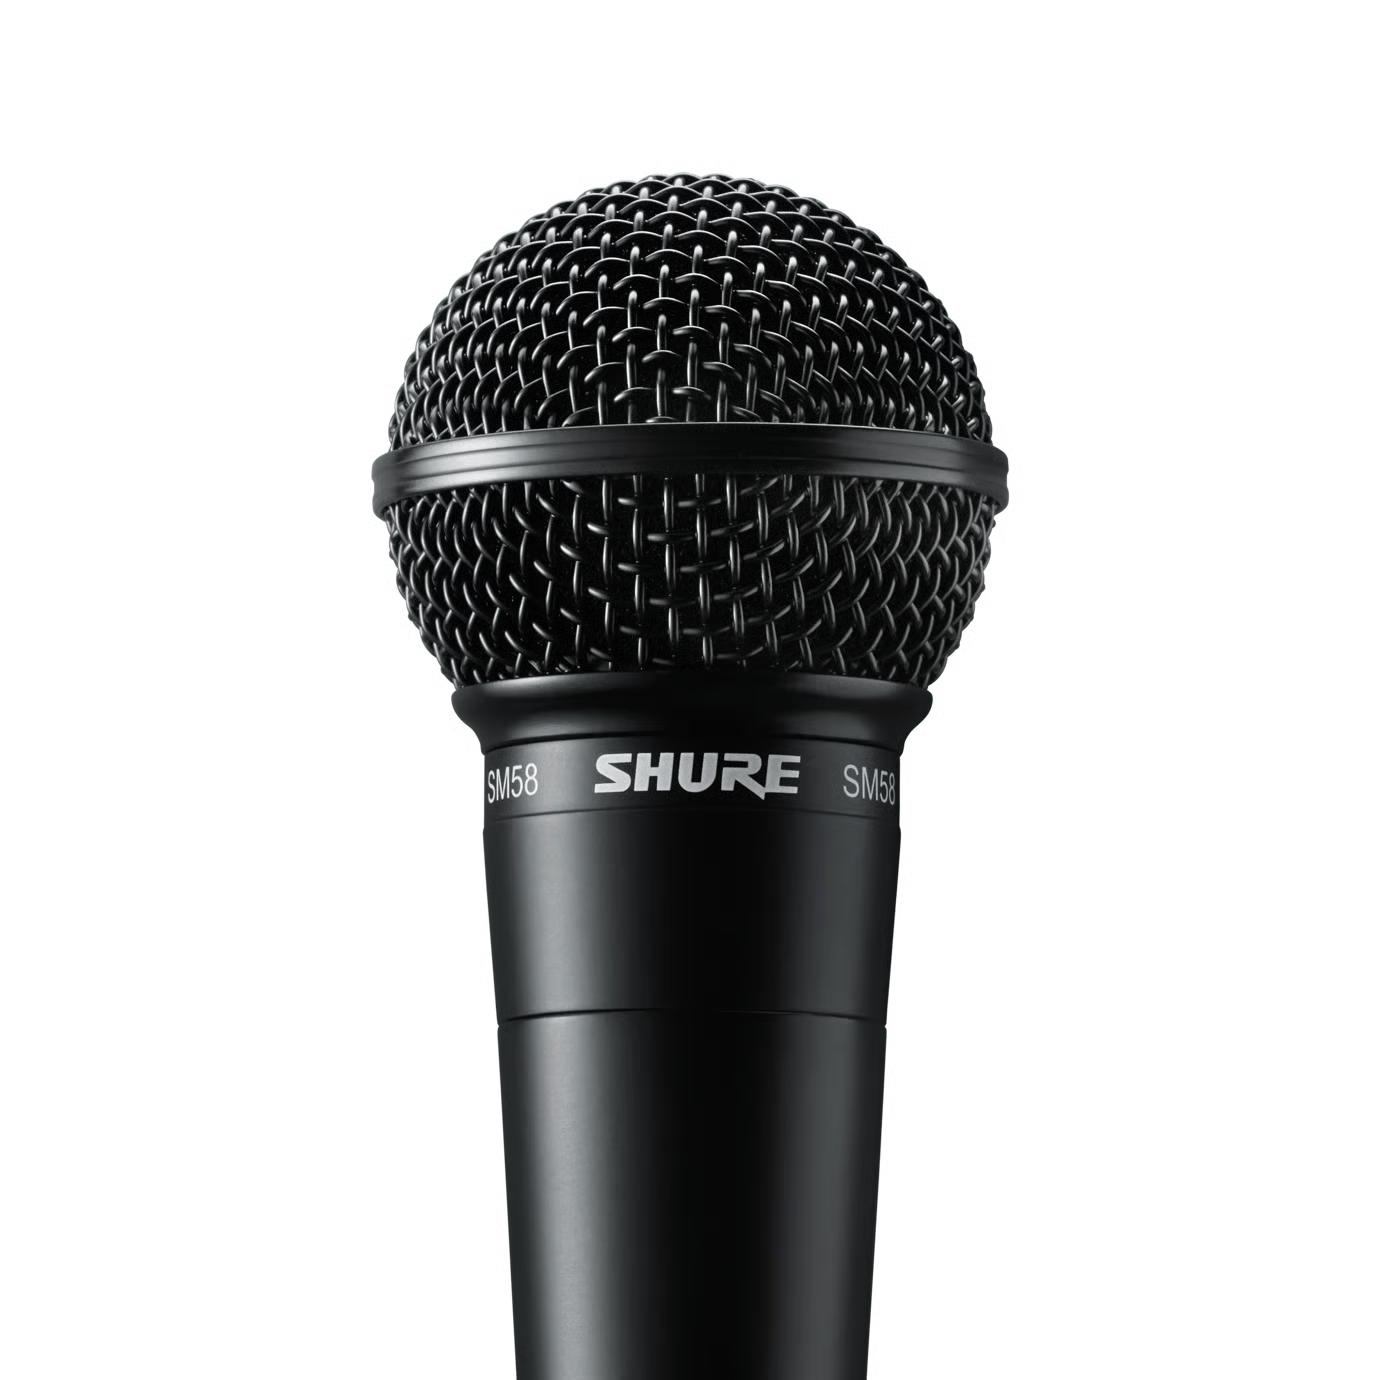
Before you start comparing models, decide how much you’re willing to invest. But here’s the catch: allocate the biggest chunk of your budget to the microphone — not monitors, not plugins, not other studio gear.
Your mic is what captures the performance. If that’s low quality, everything downstream suffers.
A $500 mic with a $100 interface will usually sound better than a $100 mic with a $500 interface. Always prioritize what shapes your raw sound the most — and that’s your microphone.
Step 2: Shortlist 5–10 Microphones (But Choose Variety)
Most people look at 5 condenser mics from different brands and assume they’ve got “options.” In reality, that’s not much variety.
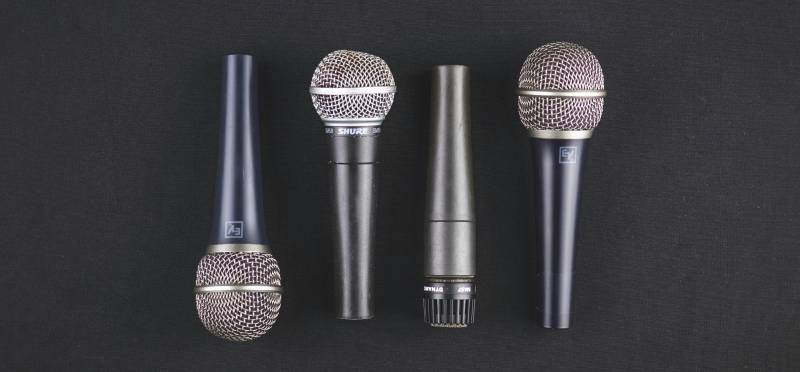
What you want is contrast — build a list that includes:
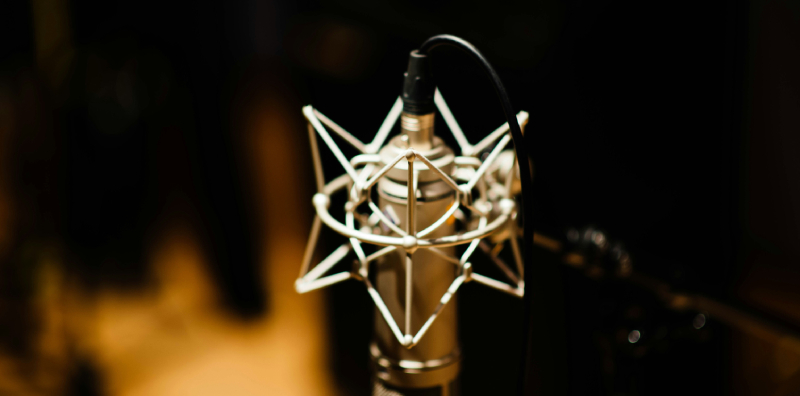
1 condenser mic (clean and detailed)
1 dynamic mic (rugged and warm)
1 ribbon mic (dark and vintage)
1 bright-sounding mic (more air in the high end)
1 dark-sounding mic (boosts the low mids)
You want to hear how your voice reacts to different microphone characters, not just different logos.
Step 3: Try Them Out (In Studio or At Home)
Once you’ve got your shortlist, it’s time to test. You can:
Visit a studio that has the mics on your list
Book a few different studios and request specific mics in advance
Rent mics and try them at home, if your room has decent acoustics
All you need is about an hour to test 5–6 mics. Spend 10–15 minutes per mic, and record the same vocal phrase on each.
Tip: Let the studio know in advance which mics you want to test. If you’re testing at home, make sure you have proper gain staging and a quiet environment.
Step 4: Record a Realistic Vocal Demo
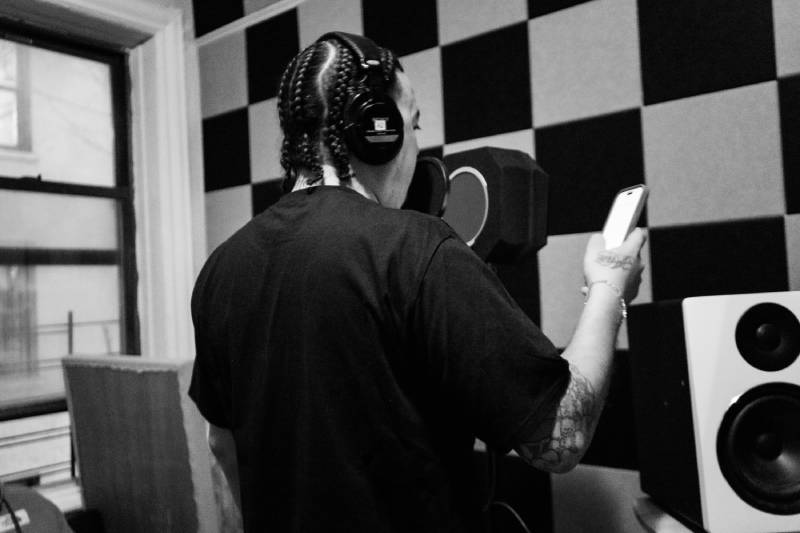 To really hear how a mic handles your voice, you need to record something that represents how you’ll actually use it.
Here’s what we recommend:
Use a pop filter, 30cm from the mic
Set your input gain so the peaks don’t go above -6dB
Record:
Your lead vocal for the chorus
Two doubles
Two harmonies
Around 20 seconds total per mic.This setup gives you enough material to hear how the mic handles layering, tone, dynamics, and clarity once mixed.
Step 5: Send the Tracks to a Mixing Engineer
Once you’ve recorded the same performance on different mics, place all the vocal takes into a single DAW session and send them to a professional mixing engineer (like us!).
Why? Because you’ll only hear the true strengths or weaknesses of a mic during the mix. A raw vocal might sound okay on its own — but once you start EQing, compressing, and stacking layers, the real quality of the recording becomes obvious.
Some mics crumble during processing. Others shine.
We offer free evaluations — send us the session and we’ll tell you which mic works best for your voice.
Bonus: Don’t Forget Your Room Acoustics
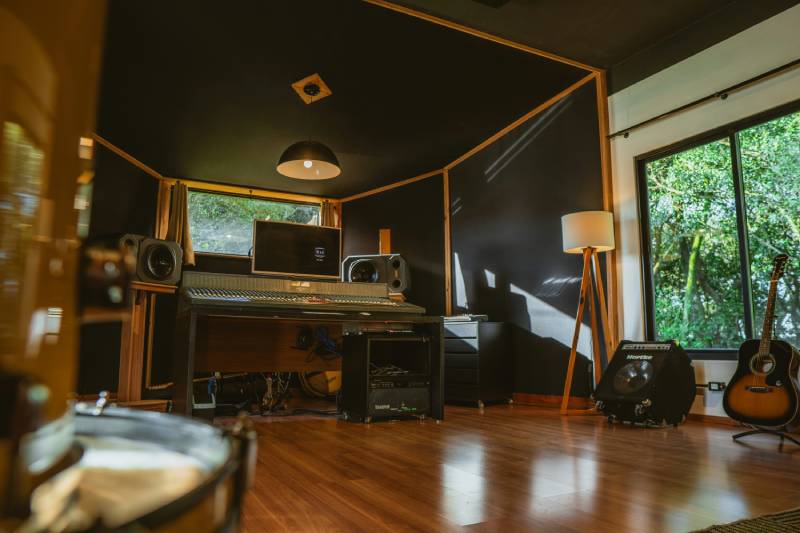 Even the best mic will sound bad in a poorly treated room. If you’re setting up a home studio, make sure to address acoustic treatment: reflections, background noise, and room resonance can seriously mess up your vocal tone.
We’ve covered this in another article — check it out to learn how to treat your recording space properly.
Final Thoughts: Make It Count
Choosing the right mic isn’t hard — it just takes a little time and intention. Spend a few hours testing. Invest in what actually matters. And trust your ears.
Once you’ve found your mic, your vocals will immediately jump in quality. You’ll stand out from other artists using “whatever’s cheap,” and your mix engineer will thank you for it.
Need help choosing the right mic?
At Major Mixing, we’ll review your vocal samples, suggest the best mic for your tone, and even guide you on the rest of your home studio setup. Once your vocals are recorded, we’ll help you finish the track with professional mixing and mastering.

