As a music producer, engineer or musician you need to know the fundamental mixing tips before mixing and mastering your song. If you are not sure of anything about audio mixing, this blog post will help give some insight into all of the basics. You will learn what is important when it comes to mixing your track correctly and how to make it sound professional enough for release!
How can I improve my mixing?
Before diving into a deep discussion of mixing tips and tricks, we need to cover the basics. It is important to understand that everyone’s process varies slightly when it comes to working on audio. However, there are a few things that are essential for any engineer.
- Listen to a lot of music.
- Practice a lot. I mean a LOT. Do at least 1-2 mixes every day.
- Keep your session clean and organized.
- Use reference tracks.
- Do everything ON PURPOSE
The last one is the most important and fundamental thing around all mixing tips. You can read tons of different mixing tips, but this one is #1. You need to know exactly what you are doing and what you want to achieve.
Before starting working with a song you need to have a picture of the future sound. It’s just imagination, but you can find references that fit your sound from your head.
Then just ask yourself a question before doing anything in your mix. “Will this help me achieve a final result?” If the answer is no, then don’t do it.
For example, you have dark, boomy vocals and your reference has pretty bright vocals. What will you do? Of course, engineers will cut low end, boost hi frequencies or apply some kind of enhancer. There are tons of ways to make a vocal mix sound bright. But again, you do any mixing just on purpose. It will help you sound great.
Now let’s dive into the list of tips for any part of the mixing process.
Fundamental Audio Mixing Tips & Techniques
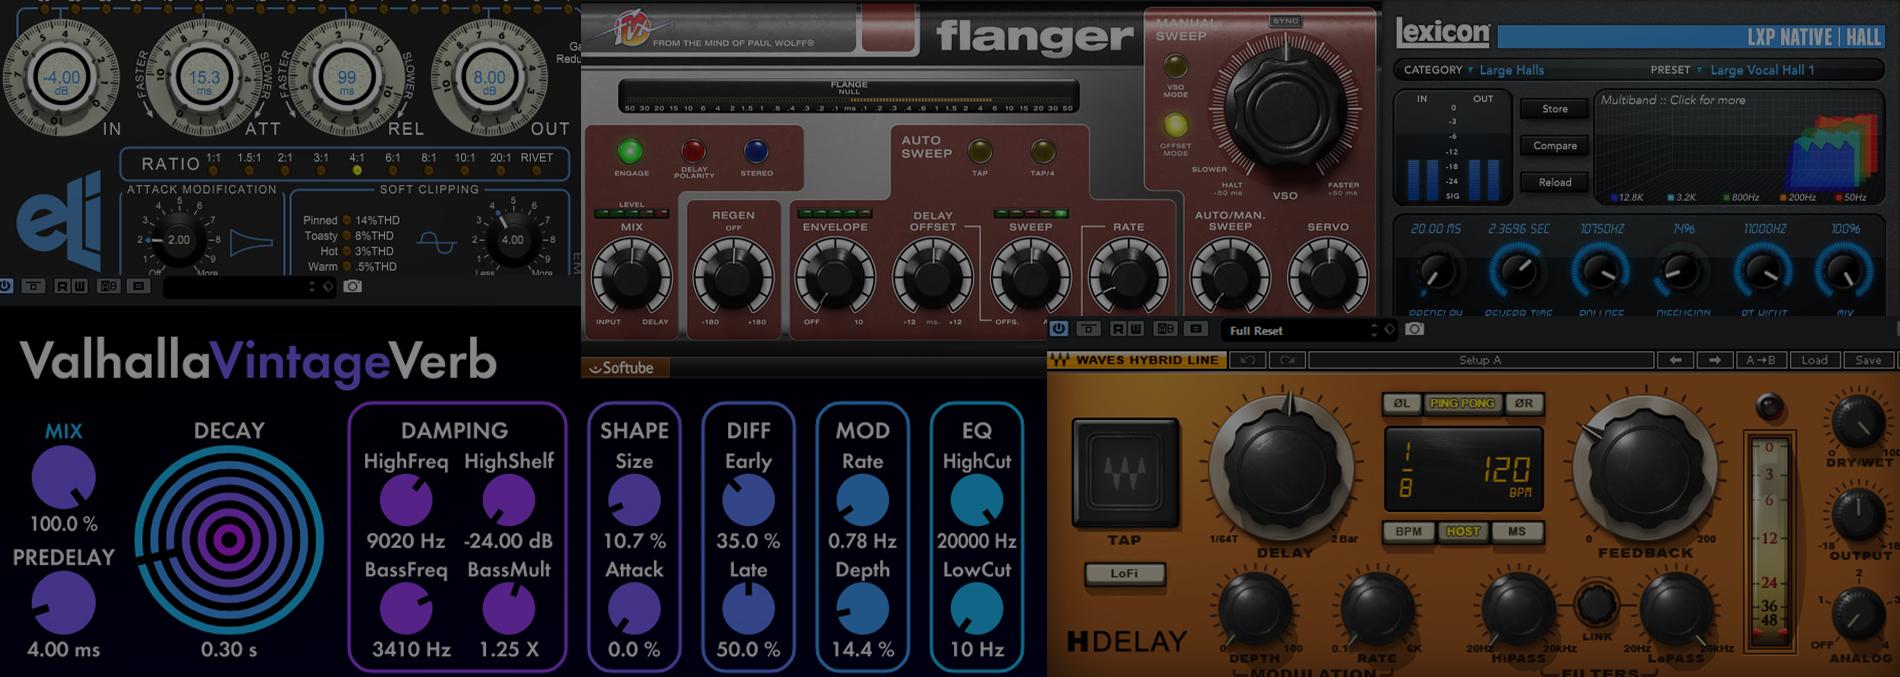
The mixing process is not that hard as you can imagine. The mixing engineer has a limited quantity of tools. Balance, Panning, Eq, Compression, Saturation, Time Based Effects, and Pitch Based Effects.
Everything you know, I mean thousands of plugins, is just a combination of these.
Let us provide you mixing tips for all of these tools which will help you sound great.
1. Balance is everything!
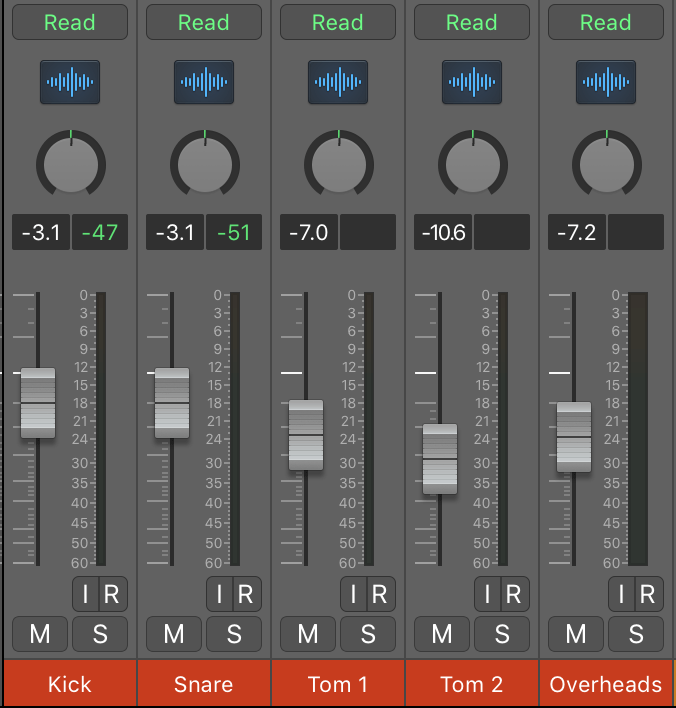 This is an important thing to remember when mixing audio. Balance is the #1 tool for mixing engineers. Alway start doing your rough mix with balancing everything. First mixing engineers had only faders and LCR pan. So this one is really a fundamental thing.
Don’t forget to use your ears and not your eyes when mixing. The mix should have a good balance for each element and track (vocals, instruments, etc). This means that everything needs to be at a relatively similar volume level.
The easiest way to do this is by using your ears and making small adjustments until everything sounds good together.
Here is an example – You have a final mix with too many low frequencies. Try to lower kick, bass, or any instrument with low frequencies. Many of you will say – “Max, this is so obvious!”. But I can tell you that I saw tons of mixes with this mistake. Many mixing engineers do processing instead of just using volume knob.
The next thing for balance is volume automation. Automate a lot, use automation for individual tracks or entire mix (mix bus, master fader).
A good mix always has a nice dynamic range. Mix without any automation sounds really boring.
2. Pan elements across the whole stereo
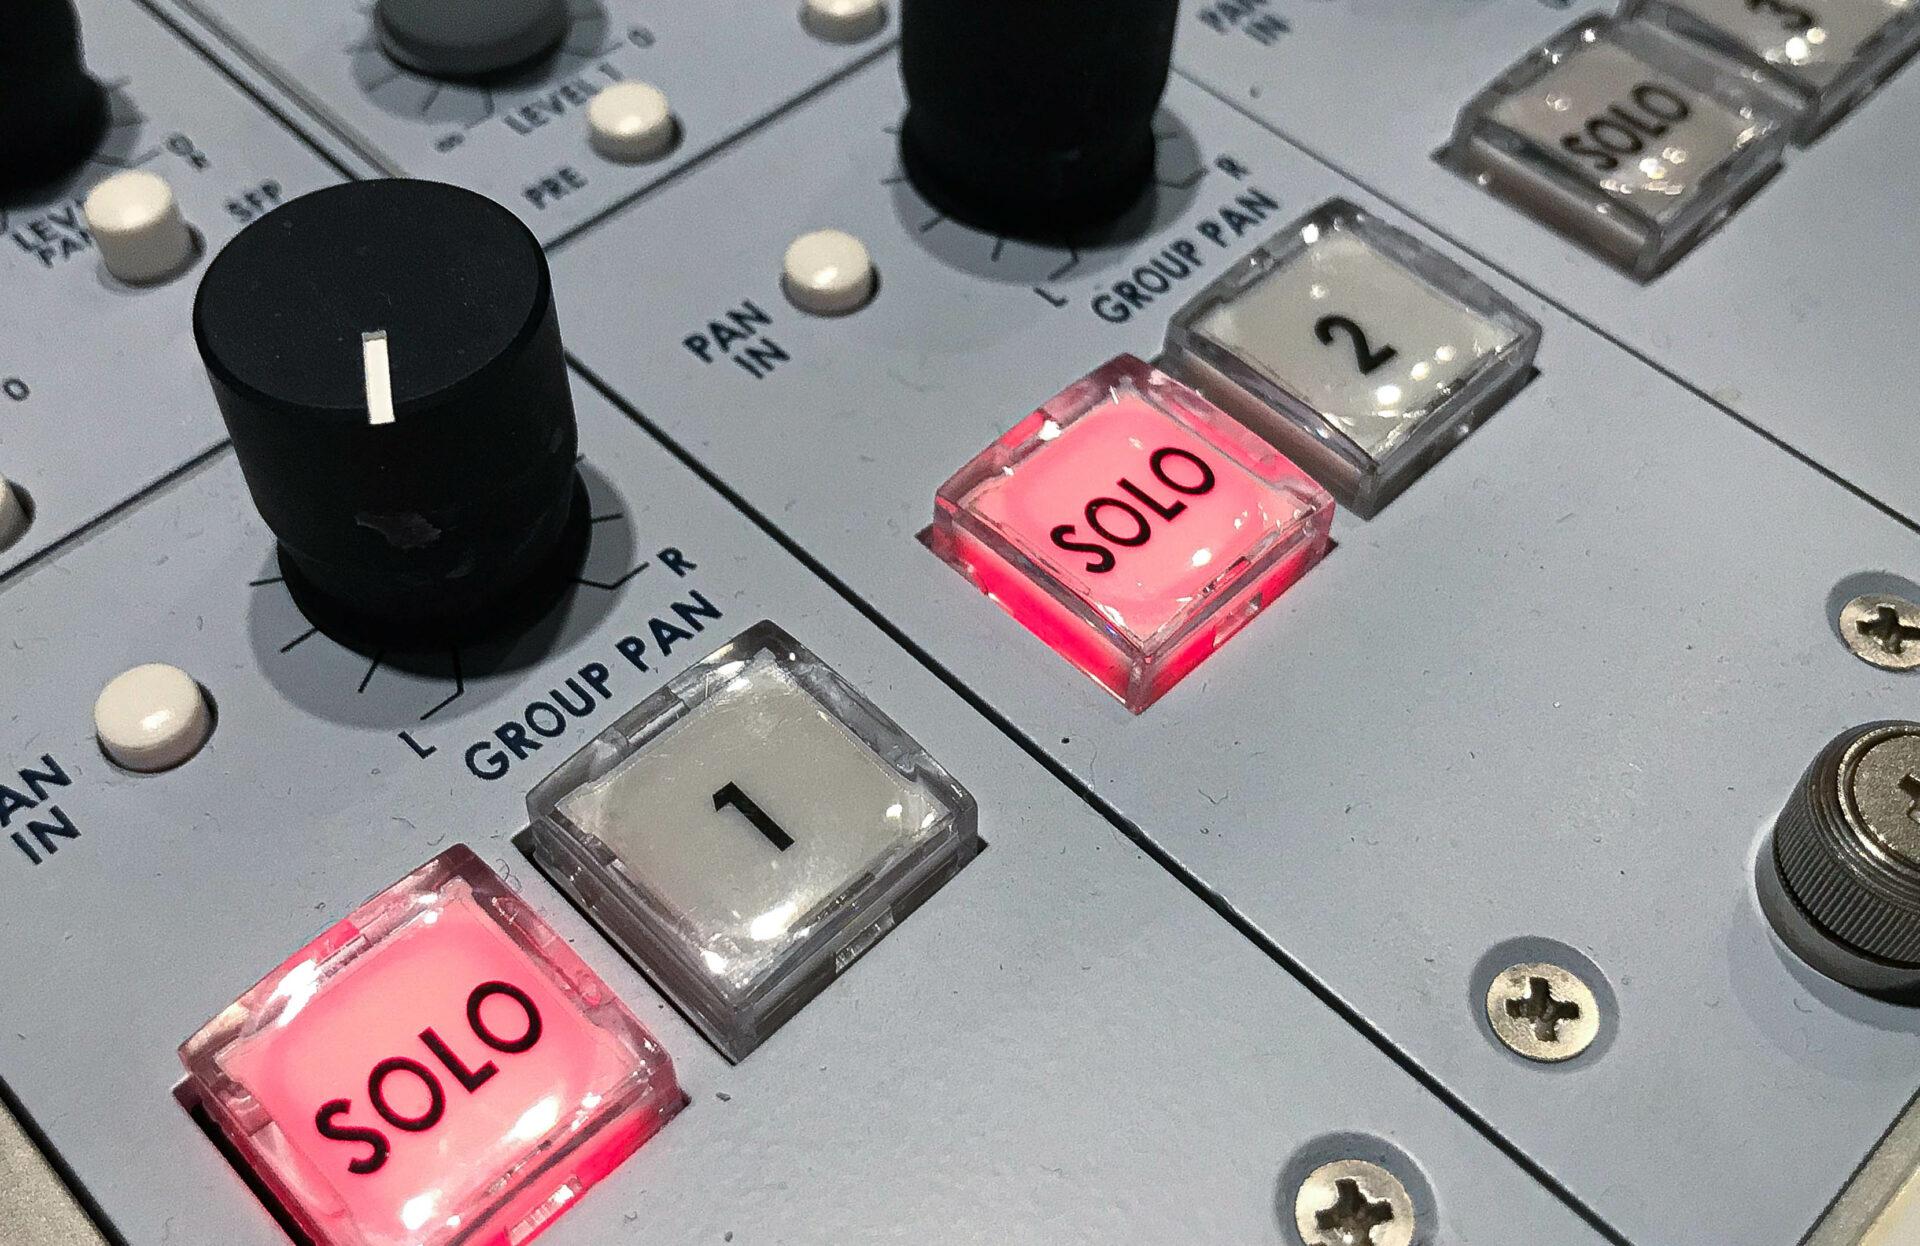 It’s a good idea to pan elements across the stereo before applying any processing. Usually, in our mixes, there’re only 4 mono tracks panned to a center – Kick, Snare, Bass, and Lead Vocal. Rest tracks are panned across the whole stereo picture or they’re recorded in stereo (piano, synths, etc).
It helps to focus the listener on the main elements of a song – groove and melody. If you’re doing panning this way you will automatically prevent most of the frequency conflicts and you will need less processing on the tracks.
Of course, there is a lot of exceptions. For example – What are you gonna do with 1 acoustic guitar and 1 vocal track recording?
In this case, both elements will be in the center, but I will try to create some stereo for the guitar. I will ask to record a double track, or record guitar using 2 microphones. It’s always easier to mix tracks panned in different places.
You can also automate panning. It can add some excitement to your music. It sounds really good when the whole mix goes from narrow almost mono to wide sound across all stereo field. But set up your pan law setting before doing panning automation. -3dB pan law is a nice setting for mixing music.
3. Use Equaliser Carefully
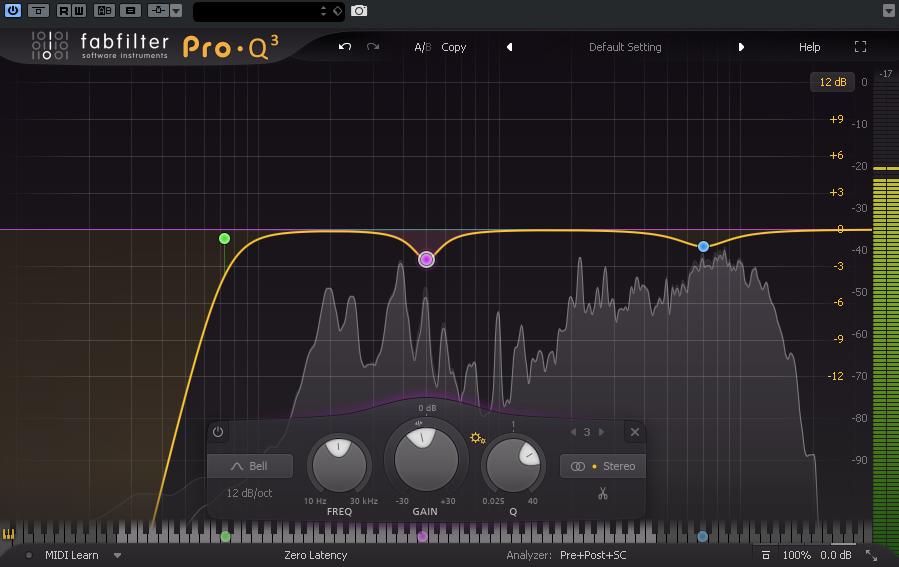 Eq is one of the most used tools and plug ins. This is a really helpful tool it can do with sound almost everything. But it can also ruin your sound if you use it wrong.
Most of the articles on the internet spread audio mixing tips which can break your record. One of these is – Use a high pass filter for any track except kick and bass or high pass/low pass everything. This one is definitely wrong. Equalizer is a pretty aggressive tool that really affects the sound. The equalizer changes the phase of certain frequencies, causes different delays for different frequency regions, or even adds sustain for a sound. So even a high pass filter can change the sound for the whole frequency spectrum.
We will not explain how eq works in this article. Just a quick experiment for you:) You will just find out how it can change the sound. It’s a good exercise. Take a short kick drum. Make narrow eq band and make 15 dB boost at any low frequency at 30-70 Hz range. Now you can hear how eq can “ring”. This is why it’s better to cut than boost frequencies using eq.
So, as with any tool in mixing you need to use an equalizer only for a purpose. If your reference or your “mix from your head” has bright vocals, then eq vocals to make it bright. If your kick is not enough of low frequencies, then boost low frequencies or attenuate everything except low frequencies. Use high pass filters only on tracks that have unnecessary low frequencies – dirt, pops, or track has the same low-frequency content as a kick and bass.
Eq is really helpful (and I think it’s the best case of use) for cleaning instruments that are located in the same frequency range and same space.
For example, you can create space for lead vocal by attenuating “vocal range” frequencies at accompaniment (piano, synths, guitars, etc.) Usually, it’s around 400-700 Hz.
The same thing can be used almost for every lead instrument. Attenuate the frequencies at the accompaniment that are located in the same space as a lead instrument. It will help you make a lead instrument prominent and you will be able to make the accompaniment louder. And finally, it will glue elements together and help you make a great mix.
Finally, you can use an equalizer to clean some resonances or dirt. Usually, you can clearly hear it, especially comparing the sound to a good mix. Different audio has different issues, so there are no other ways besides using your ears. Our advice in this field is to try to not use more than 4 bands of eq. You can notice that the mixing console has 4 bands and it’s enough to make a good mix.
Want a free test mix of your track?
We get it.
That’s why we’ll do a full hybrid (analog + digital) mix of your song —
for free.
No upfront payment. No risk.
You only pay if you’re blown away. And if you are, we’ll slash 40% off the final price.
Nobody else in mixing and mastering offers this.
Why?
Because most studios say yes to every project. We don’t. We only mix what we’re excited about — so send us your best track. If we like it, we’ll mix it like it’s going to the Grammys.
👉 Just drop your name and email to get started.
4. Use compression for tracks with a high dynamic range
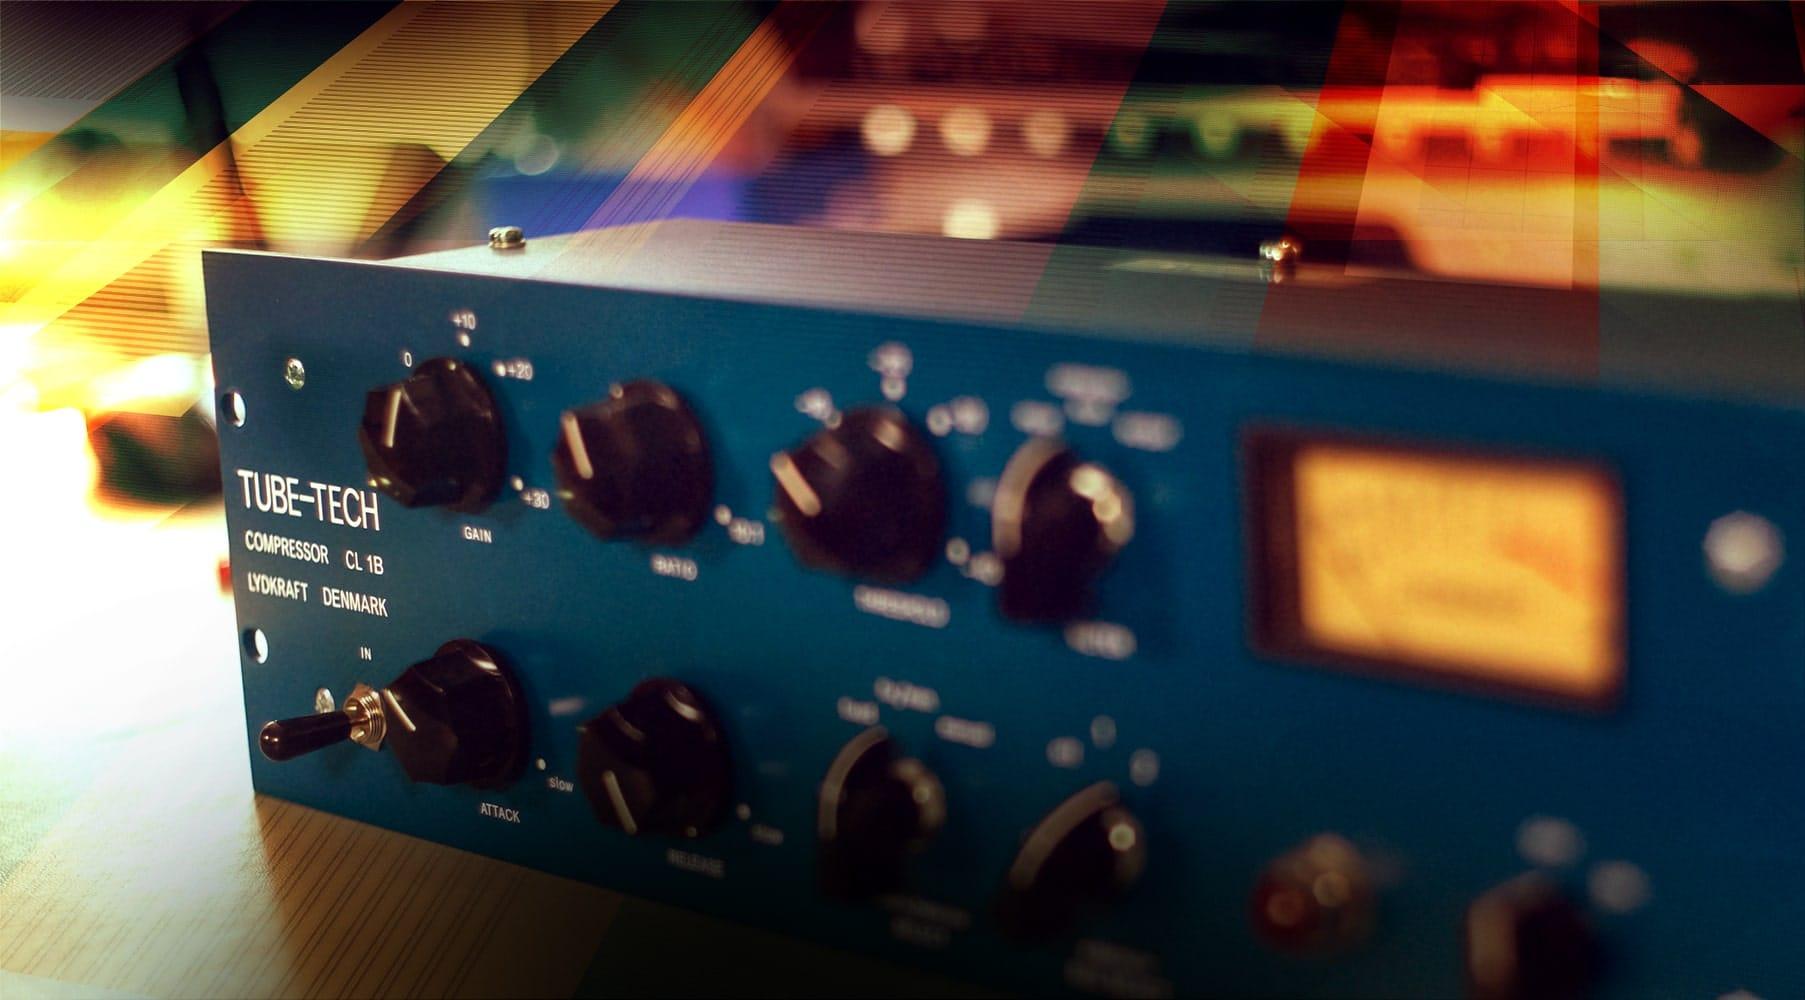 Compression is another powerful tool. The main thing about using compression in mixing music is how to use it properly. You can ruin your mix by compressing everything, or not compressing at all.
One of the most important audio mixing tips for musicians and engineers is that you need to know exactly which track or bus requires a compressor before applying one and which settings to use!
Compression is used to control the dynamics of a signal. You can use it to make your track sound more consistent, to add sustain or attack. It’s a very versatile tool because you can even change the timbre by compressing some sounds.
For example. Try to use 15 ms of attack for kick drum and apply compression for 5 dB Gain Reduction. You will notice that the kick becomes brighter and punchier. That’s because the compressor makes everything after 15 ms quieter and the attack becomes louder. Same thing compression can do with different instruments.
Second example – Try to apply too much compression on bass guitar (around 15 dB of GR). You will hear some kind of crunch or distortion. That’s caused by changing the waveform of audio. That’s why it’s usually unnecessary to compress electric guitars, any instrument with distortion, or even instruments with a lack of dynamics. It will just bring more distortion for it. Sometimes it is nice, but it’s better to use saturators for this task.
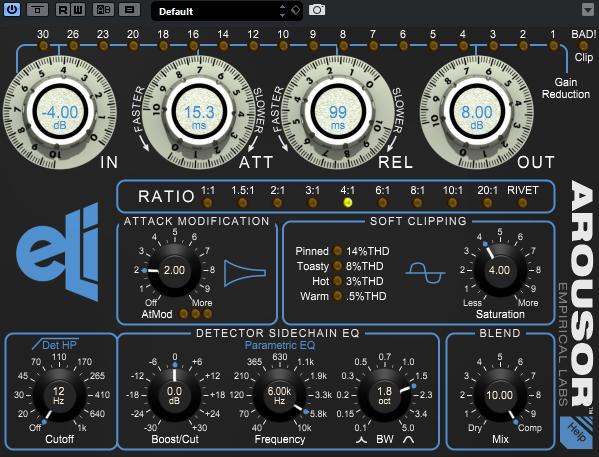 Our approach in using a compressor is to use it only on high dynamic audio. This is usually drums, piano, guitars, some synth, and vocals.
Here is a standard starting point for compression –
- 15 ms Attack Time
- 100 ms Release Time
- 4:1 Ratio
- 5 dB of Gain Reduction (this number can really vary)
After applying these settings try to find a sweet spot for your audio. You can change the setting in order to make it sounds great. Try different attack/release times, try higher ratios. The main tip here is still – Make everything on purpose and use your ears. Some songs need aggressive compression, some songs don’t need compression at all.
You can also try multiband compression. It’s pretty much the same as a single-band compressor, but it processes audio in separate bands.
Multiband compression can be very helpful when you need to process just one frequency range and leave other frequencies untouched. You can use it to treat some sibilants or to limit dynamic range for harsh regions. In case of badly recorded audio, we use multiband compression. In other cases, it’s only question of a taste. Some engineers use it, and some don’t.
Finally, you can use a compressor on the mix bus(overall mix). You need to use it really carefully and only for monitoring your mix after the master. It is always better to send your mix to a professional mastering engineer. He will also help you with your mix, cause he has huge experience and perfect monitoring. The mastering engineer is the best friend for a mix engineer🙂
Back to master bus compression.
We usually use 2 compressors. The first one is for gentle compression with 3 dB of Gain reduction, 10 ms Attack Time and 150 ms release time) and the second one for aggressive compression with 1 dB of Gain reduction, 3 ms Attack Time and 50 ms Release Time.
5. Use Gentle Saturation on Everything
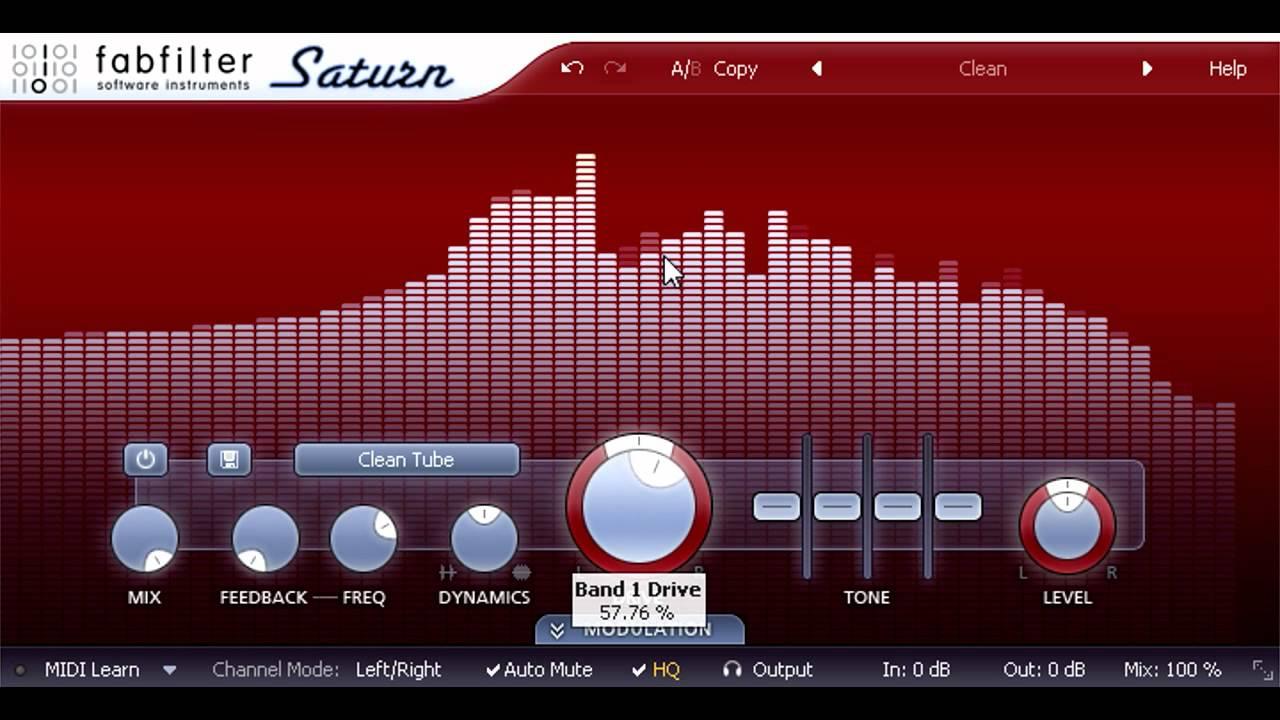 By the time we work in the music industry, we found that saturated audio and mixes with saturated tracks always sound interesting, louder, and richer.
But. You need to listen first. Nowadays a lot of sounds, samples, and libraries already have some saturation and distortion on them. So you need to be sure, that your saturation is making the sound better and not dirtier.
The best approach in our taste is to use mixing console preamps emulators on every track. For example Waves NLS or UAD Channel Preamps plug ins.
Also, you can use FabFilter Saturn. It’s a really great and clean saturator. We use it a lot.
Saturation will cut some peaks and add color to your sound.
How to set up Saturator?
You can use any WaveForm/Spectrum Analyser. Just increase the input level or saturation button until you will notice changes in the waveform. Then use your ears to find a perfect sound. Try to practice saturation on the drums. It’s easier to notice changes on drums waveform.
6. Use Time Based Effects to Add Space in Your Mix
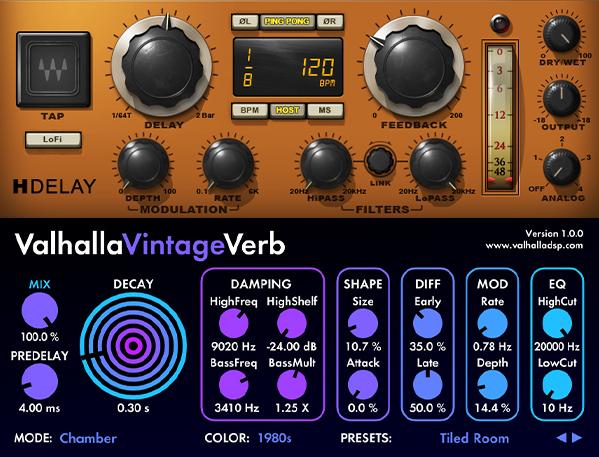 Time-based effects are delays, reverbs, and modulations. We use them to create space in the mix for drums, guitars, vocals, or any instrument/vocal group you want. Our main tip about TIme-Based Effects is to create a template with sends before starting to mix your song. Create sends for –
- Room Reverb
- Short Hall Reverb
- Long Hall Reverb
- 1/4 note Delay
- 1/8 note Delay (Pinpong/Mono)
- Slap Delay
Then you need to adjust your setting to fit the song you will mix. Find the best presets, which fit the sound you want.
Now you can send a dry signal to these sends. Your mix will sound nice and coherent in this case, because you’re using the same reverb and delays for all tracks.
7. Use pitch based effects to make sound interesting or wide
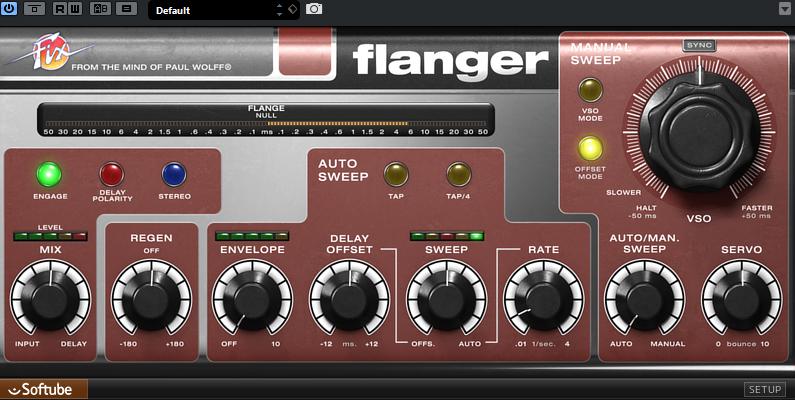 You can use different pitch-based effects to make your sound really wide. For example, Chorus or Flanger.
Our main tip is to use these effects on backing vocals and some tracks from the accompaniment.
It can prevent conflicts with the main audio.
These are definitely not the most commonly used effects, but sometimes it can be really helpful.
8. Give yourself and your ears a rest
It is really important for your ears to take a break. Overworking can cause ear fatigue and it’s hard to listen to mix from a fresh perspective without any pause.
Our main suggestion is to take regular breaks for at least 15-30 minutes each 2 hours. And then come back with fresh ears.
Also, you need to sleep well and eat healthy food(even if it’s hard sometimes). Just think about livin’ right! Your mix will definitely improve!
This advice is the most important thing for any people, not only mix engineers.
9. Check your mix at different speakers
No matter which your favorite speakers are, check how mix sounds on different speaker systems and at different room conditions. It’s really hard to hear all deficiencies in a nice studio environment without any monitoring problems or acoustic issues.
You need to listen music on every speaker you have including cheap earbuds or laptop built-in speakers! You can get just another point of view about mixing decisions if not listening loud enough(unless it has a dynamic range compressor). And sometimes, even with good playback systems, our mixes don’t translate well across other devices. That means we should make some changes before sending out the final release version for mastering.
These were all our mixing and mastering tips.
Remember always do any processing on purpose and always learn mixing and mastering.
Feel free to contact us for mixing and mastering services by 🏆top-nominated engineers!

